Go to Trezor.io/Start® to Safely Initialize Your Trezor Wallet
As cryptocurrencies continue to reshape the global financial landscape, securing your digital assets has never been more crucial. While software wallets offer convenience, they are vulnerable to online threats. For maximum security, hardware wallets like Trezor® are the gold standard. If you’ve just purchased a Trezor device, the official and safest place to initialize it is at Trezor.io/Start®.
In this guide, we’ll walk you through the setup process and help you understand why starting at Trezor.io/Start® is essential for securing your crypto journey.
Why Choose Trezor®?
Trezor® is one of the most trusted hardware wallet brands in the world. Developed by SatoshiLabs, it offers a secure, offline environment for storing your private keys, away from internet-based threats like phishing, malware, and hackers.
🔐 Key advantages of Trezor® wallets:
-
Cold storage: Keeps your private keys offline
-
Multi-asset support: Bitcoin, Ethereum, ERC-20 tokens & more
-
PIN protection and recovery seed access
-
Open-source and transparent firmware
You can compare Trezor models here: https://trezor.io/compare
The Importance of Trezor.io/Start®
When you first receive your Trezor Model T or Trezor One, it is vital to use only the official setup page: https://trezor.io/start. This ensures you are not accessing a malicious or fake website designed to steal your information.
✅ Official setup site: https://trezor.io/start
❌ Avoid unofficial or third-party URLs
Starting from the official site guarantees that your wallet is initialized safely, your firmware is authentic, and your assets are protected from day one.
How to Safely Initialize Your Trezor Wallet
Here’s a step-by-step guide to help you set up your Trezor wallet securely through Trezor.io/Start®.
1. Connect Your Trezor Device
Use the USB cable to connect your Trezor Model T or Model One to your computer. Once connected, go to https://trezor.io/start in your browser.
Make sure the URL starts with https:// and displays the secure lock icon in the address bar.
2. Download and Install Trezor Suite
Trezor Suite is the official software for managing your wallet and crypto assets. It’s available for Windows, macOS, and Linux.
Download here: https://trezor.io/trezor-suite
With Trezor Suite, you can manage transactions, view your portfolio, and adjust wallet settings — all within a secure interface.
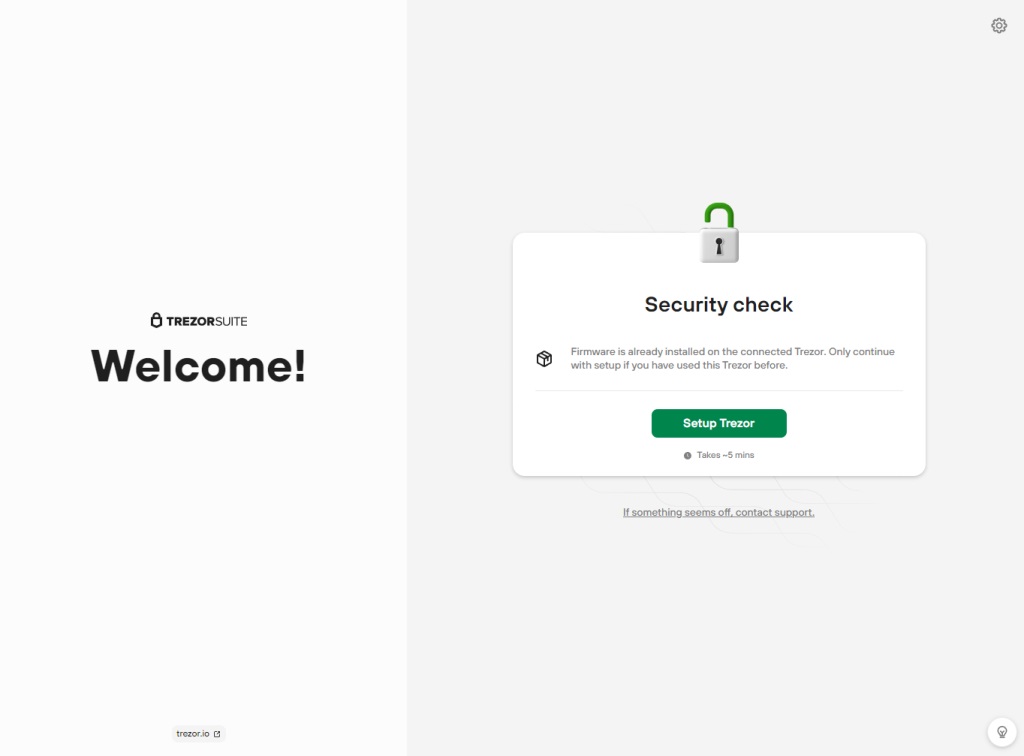
3. Install Firmware (If Required)
Upon your first connection, your device might prompt a firmware installation. Follow the instructions carefully, and do not disconnect your device during the process.
Firmware ensures your device is running with the latest security protocols and updates.
4. Create a New Wallet
Click “Create New Wallet” in Trezor Suite. This generates a unique recovery seed (12 or 24 words) that acts as your backup.
📝 Write the seed on paper and store it offline. Never take a photo or save it digitally.
Learn more about seed protection here: https://trezor.io/learn/a/recovery-seed
5. Set a PIN
Next, set a PIN code directly on your device. This PIN prevents unauthorized physical access and enhances your wallet’s security.
6. Add Crypto Accounts
Now you’re ready to add supported cryptocurrencies like Bitcoin, Ethereum, and thousands of ERC-20 tokens.
Explore the full list of coins here: https://trezor.io/coins
Final Safety Tips
-
Always use https://trezor.io/start for wallet setup
-
Store your recovery seed offline and in a safe place
-
Regularly update your firmware and Trezor Suite
-
Never share your seed or PIN with anyone
Conclusion
The safest way to initialize your Trezor wallet is by visiting Trezor.io/Start®. This official platform provides you with a secure setup, ensuring your digital assets remain under your control at all times. Begin your crypto journey today — securely and confidently.
Start now: https://trezor.io/start
Explore more guides: https://trezor.io/learn